What is SSH?
SSH stands for Secure Shell. it is a cryptographic network protocol that provides secure remote access and control over a network.
Installing SSH:
sudo apt install openssh-server
Activate the SSH-server:
sudo systemctl start ssh
Auto-start SSH-server on restart:
sudo systemctl enable ssh
Verify if SSH is running and will start automatically:
sudo systemctl status ssh
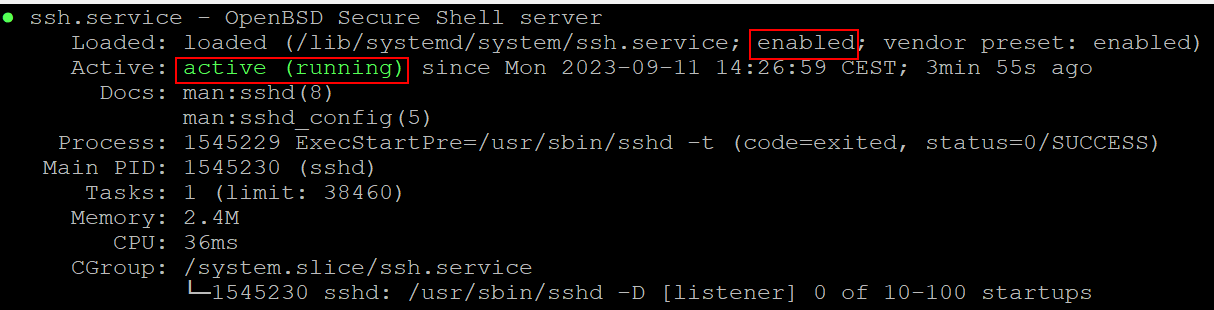
In the screenshot above, we see SSH will auto-start on boot (enabled) and it is currently running (active(running)).
Activating firewall rules (for default port (22)):
sudo ufw allow ssh
Restricting root access:
Edit the SSH config file
sudo nano /etc/ssh/sshd_config
Look for PermitRootLogin add a # before this line and save the file.
Now the root user is not able to log on using SSH.

Changing SSH default port:
sudo nano /etc/ssh/sshd_config
Look for a line that starts with port, usually the line starts with a #, remove it and change 22 to the desired port (in this case 2000).
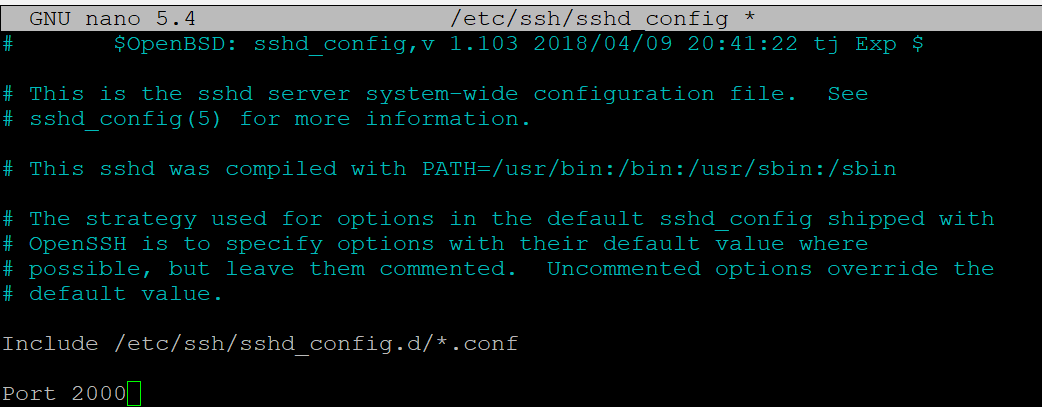
Once done, save the file.
Allow the new incoming port in your firewall:
sudo ufw allow 2000
Restart ssh
sudo systemctl restart ssh
Adding a banner:
If you enable a banner, you will be welcomed with it when logging on with SSH.
To configure a banner for SSH, go to de sshd_config
sudo nano /etc/ssh/sshd_config
Look for Banner and add the path where you will store your banner file.
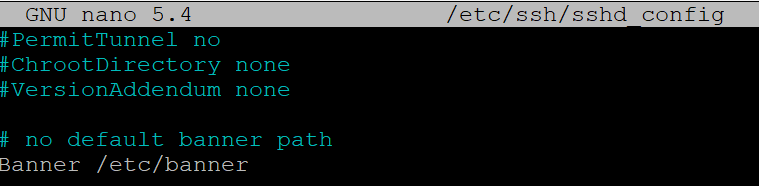
The banner-file:

Restart SSH
sudo systemctl restart ssh
Exit your currect session:
exit
Reconnect again.
The banner will look like this:

Connecting to a SSH-server (Linux to Linux):
ssh [email protected]
type yes when asked to continue connecting.

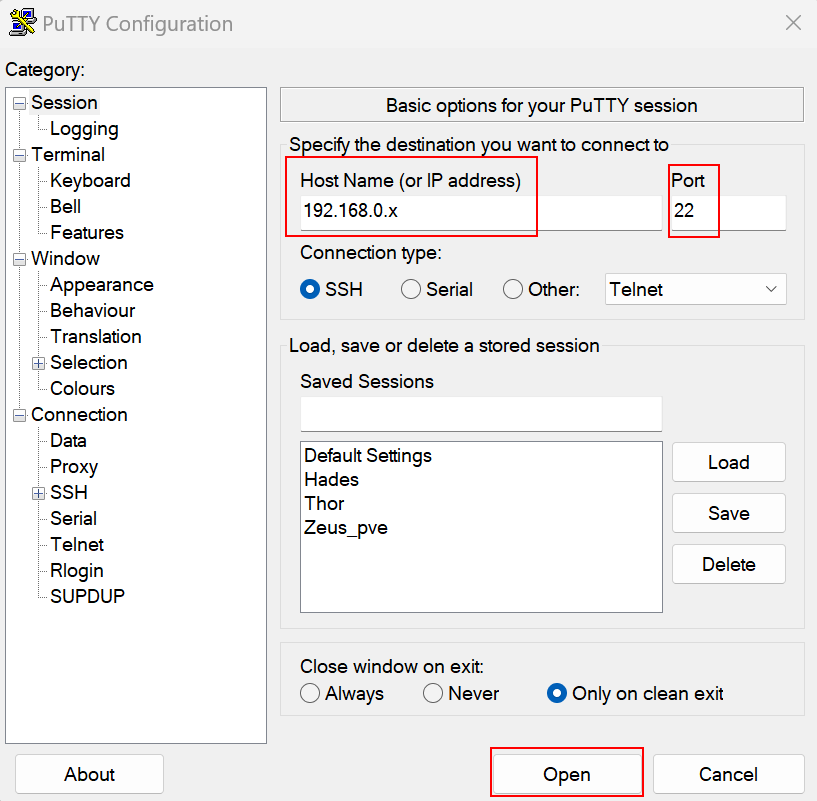
Connecting to a SSH-server (Windows to Linux):
Download Putty
In the Host Name (or IP address)-field enter the hostname or IP-address.
In the Port-field, enter the port number. Default port for SSH is 22, if you changed it, change it here.
Click Open.